Previous blog/Context:
In an earlier blog, we discussed Spark ETL with Lakehouse (with HUDI). Please find below blog post for more details.
Introduction:
In this blog, we will discuss Spark ETL with Apache iceberg. We will first understand what Apache iceberg is and why use Apache iceberg for creating Lake house. We will source data from one of the source systems which we have learned till now and load that data into Apache iceberg format. We will create an on-premise lake house and load all data into it.
What is Apache Iceberg?
Apache Iceberg is an open-source table format that aims to provide a more scalable and efficient way of managing large, complex datasets in big data environments. It was originally developed at Netflix to address some of the limitations of existing data storage formats, such as Apache Parquet and Apache ORC.
Iceberg is designed to support features that are common in modern data systems, such as schema evolution, ACID transactions, and time travel (the ability to query data as it existed at some point in the past). It accomplishes this by separating the table’s data files (which contain the actual data) from its metadata (which describes the table’s schema, partitions, and other properties).
Iceberg uses a number of performance optimizations to improve query performance, such as column-level statistics and Bloom filters. It also integrates with a variety of big data processing engines, including Apache Spark, Apache Hive, and Presto.
Overall, Apache Iceberg is a powerful and flexible tool for managing large, complex datasets in big data environments. It provides a number of advanced features that make it well-suited to a wide range of use cases, including data warehousing, analytics, and machine learning.
Why use Apache Iceberg?
There are several reasons why you might want to use Apache Iceberg:
- Scalability: Iceberg is designed to scale petabytes of data, making it an ideal choice for large data sets.
- Flexibility: Iceberg is designed to be flexible, making it easy to add or remove data without having to rewrite the entire table.
- Performance: Iceberg is designed to provide a balance between performance and flexibility, making it an ideal choice for data warehousing and analytics workloads.
- Open-source: Iceberg is an open-source project, which means that it is free to use and can be customized to meet your specific needs.

Today, we will be doing the operations below ETL and with this we will also be learning about Apache iceberg and how to build a lake house.
- Read data from MySQL server into Spark
- Create HIVE temp view from data frame
- Load filtered data into iceberg format (create initial table)
- Load filtered data again into iceberg format into same table
- Read iceberg tables using Spark data frame
- Create Temp HIVE of delta tables
- Explore data
First clone below GitHub repo, where we have all the required sample files and solution
https://github.com/developershomes/SparkETL/tree/main/Chapter9
If you don’t have setup for Spark instance follow earlier blog for setting up Data Engineering tools in your system. (Data Engineering suite will setup Spark, MySQL, PostgreSQL and MongoDB in your system) In that Spark instance we already have packages installed for Azure blog storage and Azure Data Lake Services.
Start Spark application with all required packages
First, we will start Spark session with all the required packages and configuration for Apache Iceberg. We know that with our spark instance we don’t have packages (jar file) available for Apache iceberg, so when we start spark session, we need to externally specify that. We will also be using MySQL so we will specify package requirement for MySQL also.
With Apache Iceberg, we also need to pass the configurations below.
| spark.sql.extensions | org.apache.iceberg.spark.extensions.IcebergSparkSessionExtensions |
| spark.sql.catalog.spark_catalog | org.apache.iceberg.spark.SparkSessionCatalog |
| spark.sql.catalog.spark_catalog.type | hive |
| spark.sql.catalog.local | org.apache.iceberg.spark.SparkCatalog |
| spark.sql.catalog.local.type | hadoop |
| spark.sql.catalog.local.warehouse | warehouse |
| spark.sql.defaultCatalog | local |
By default, warehouse location is $PWD (it means the location where we start spark session) but here we are giving warehouse so it will create folder in our folder and put all tables inside it.

Now, we have our spark session available with all the required packages and configuration, so we can start ETL process.
Read data from MySQL server into Spark
(If you have already completed chapter 7, you can skip read data from MySQL and create HIVE table, and can directly go to create HUDI table section)
For this ETL, we are also using the same MySQL as source system and are loading same table. We will not discuss much on how to load data from MySQL and how to create HIVE table as we have already discussed in detail in Chapter 7.
If you don’t have already uploaded data into MySQL, please follow the earlier blog for the same.

We will read this data from Spark and we will create a spark data frame and HIVE table on this.

Create HIVE temp view from data frame
We will create HIVE temp view from data frame.
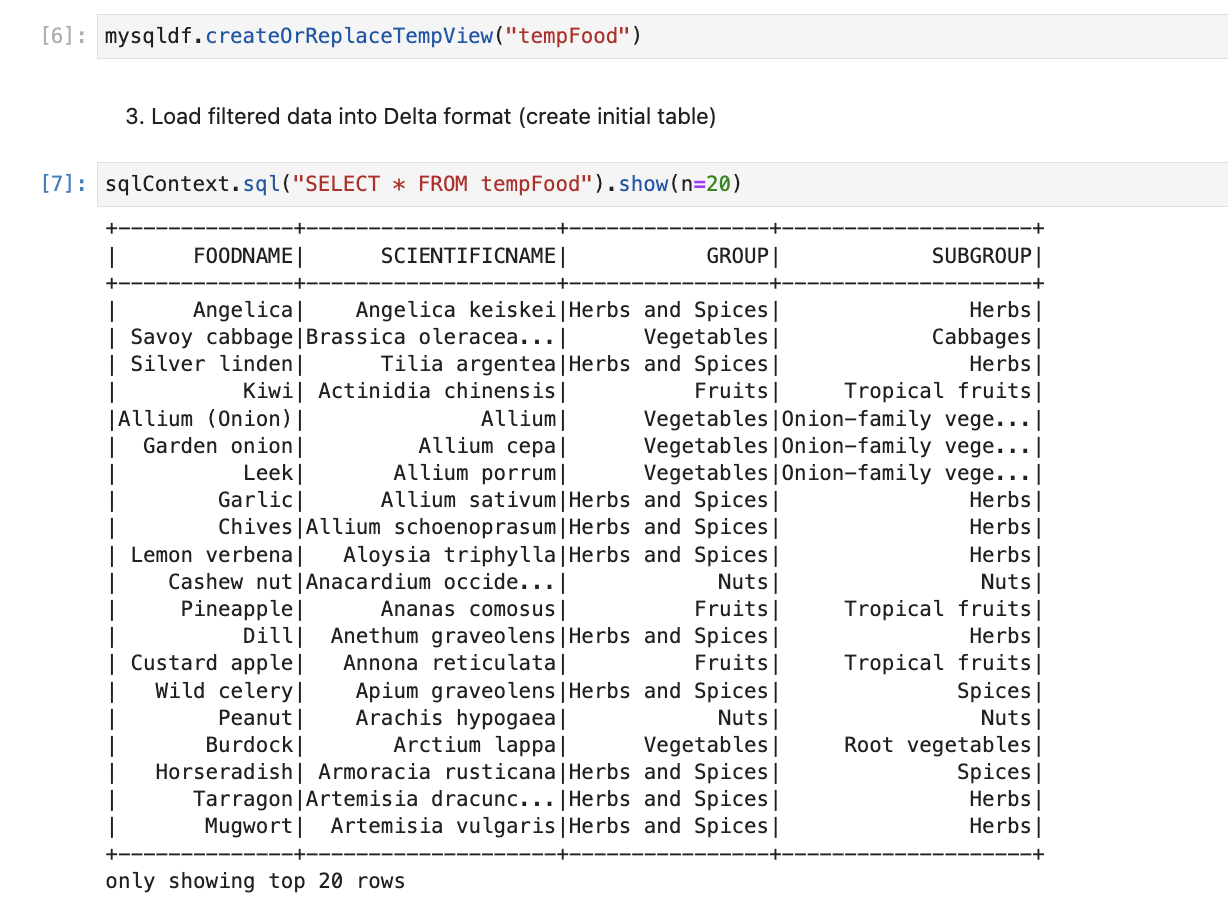
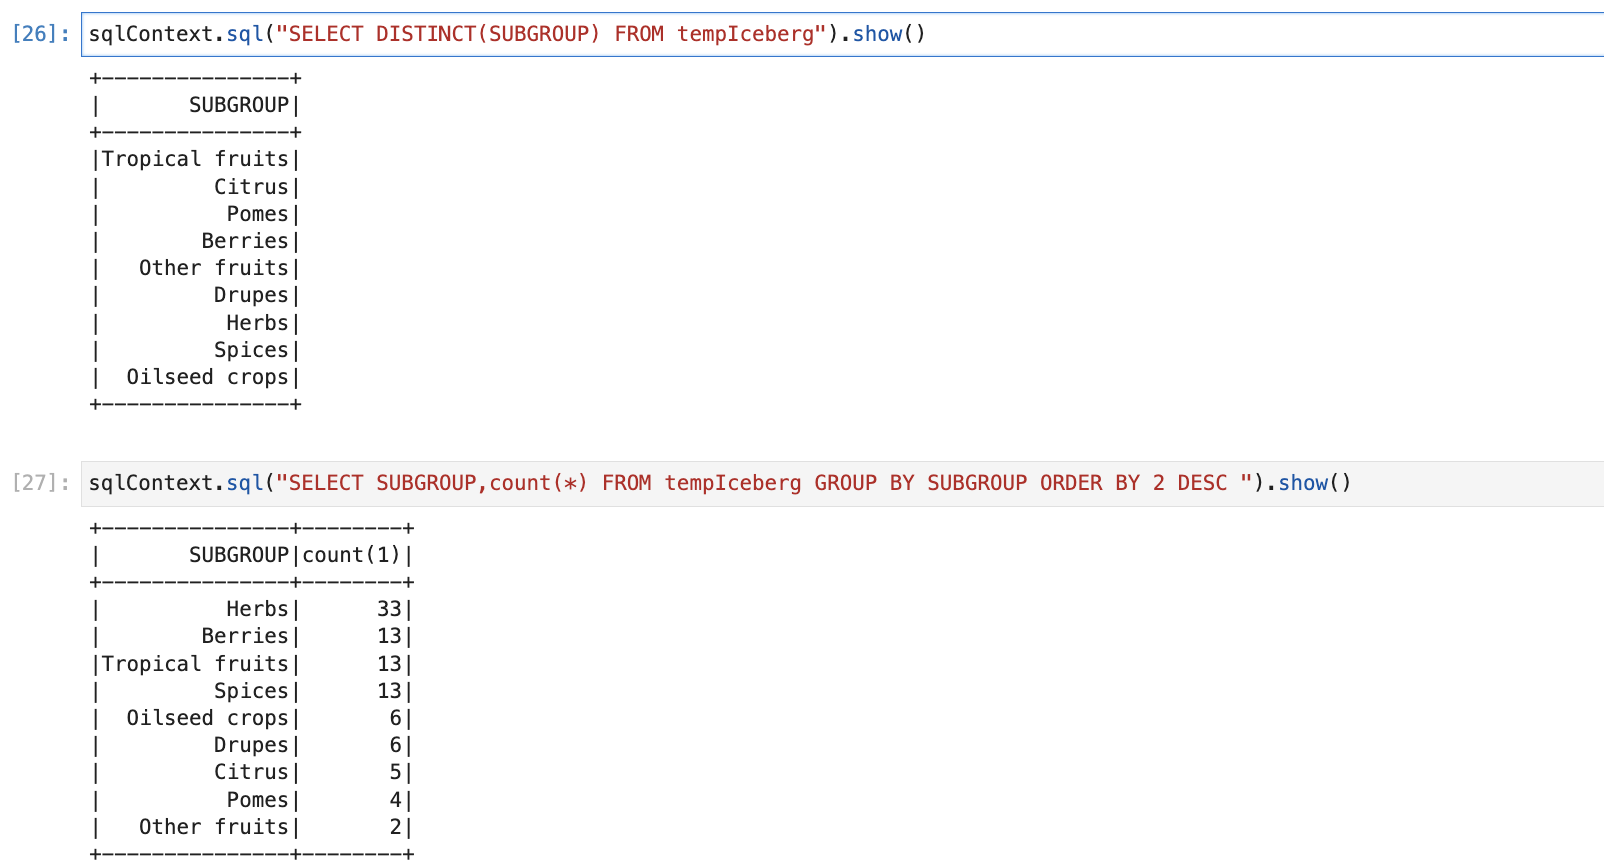
We will explore data and check the highest food group and filter with one group.
Load filtered data into iceberg format (create initial table)
We have data frame “newdf” available in which we have only one group food is there. We will use that to create the first iceberg table.
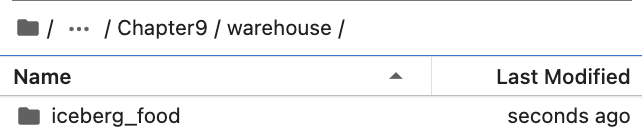
This will create a folder with the name “iceberg_food” inside the warehouse folder.
Inside “Iceberg_food” folder, it has all the data and metadata. It has two separate folder for data and metadata as below.

In the data folder, it creates a parquet file which stores all data.

And in metadata folder, it has all metadata files.
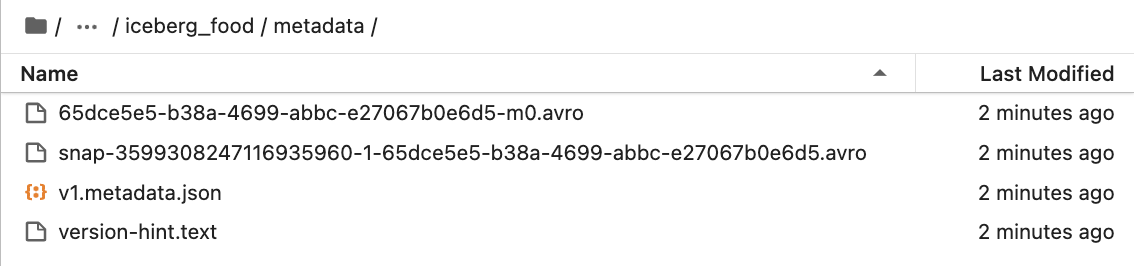
Metadata stored in Json file as below

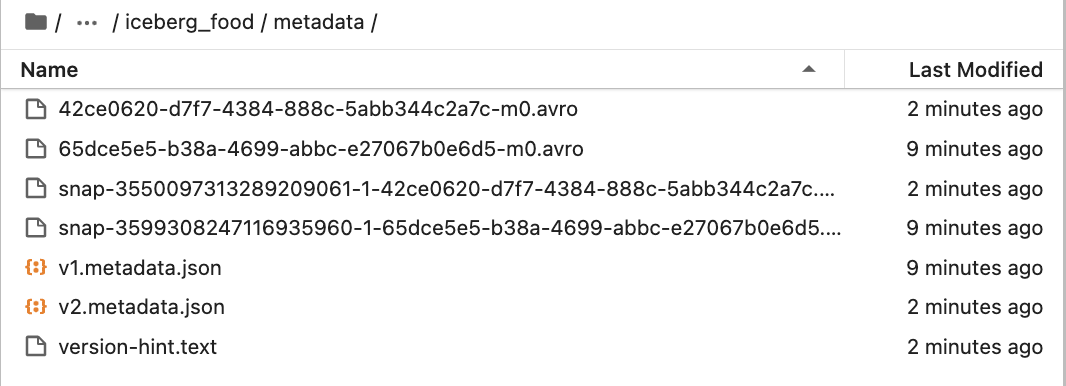
Load filtered data again into iceberg format into same table
We will create one more data frame by filtering one more food group and then appending data into the same iceberg table.

Now, if we check folders, we will see more files for data and metadata.

For metadata
Read iceberg tables using Spark data frame
Now, we will read iceberg tables into Spark data frame.

Create Temp HIVE of delta tables
We will create HIVE temp view from data frame. So that we can write Spark SQL and explore data available in Iceberg format.

Explore data
We can Spark SQL queries and explore data.
Conclusion:
Here, we have learned the concepts below.
- Understating of Apache Iceberg
- How to install Iceberg packages from Maven repo
- How to configure Spark parameters for Iceberg
- How to create Iceberg table and load data
- How data is stored in Iceberg format
- How to read data from Iceberg tables
- How to write Spark SQL queries on Iceberg

Leave a comment